Hey there! As a supplier of Clevis or Hanger products, I've seen firsthand how important it is to install a clevis properly. A well - installed clevis not only ensures the safety and stability of your equipment but also extends its lifespan. In this blog, I'll walk you through the steps of installing a clevis correctly.
Step 1: Choose the Right Clevis
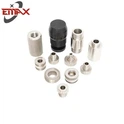
Before you start the installation, you need to pick the right clevis for your project. There are different types of clevises available, and each is designed for specific applications. For example, if you're working on a pole - line project, you might consider products like Aluminum 90 Degree in Pole Line Hardware. These are made of aluminum, which is lightweight and corrosion - resistant, making them ideal for outdoor use.
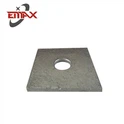
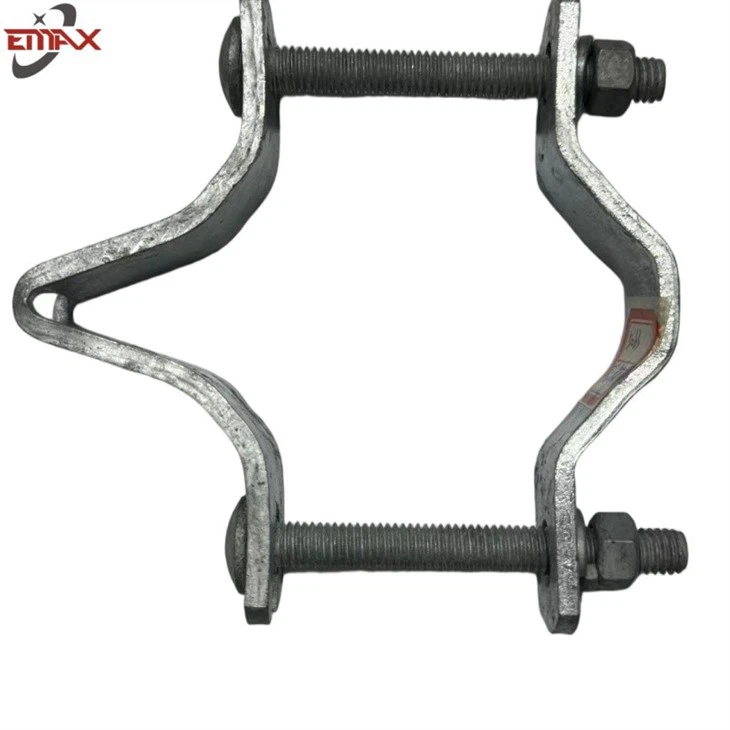
Another option could be Hot Dip Galvanized Pole Clamps. The hot - dip galvanizing process provides a thick layer of zinc coating, protecting the clamps from rust and corrosion. And if you need a clamp for spanning applications, the O Span Clamp is a great choice. It's designed to provide a secure hold over a span.
When choosing a clevis, make sure to consider the load capacity, the environment it will be used in, and the type of equipment it will be attached to. You don't want to end up with a clevis that's too weak for the job or one that won't hold up in the long run.
Step 2: Gather Your Tools
Once you've selected the right clevis, it's time to gather the necessary tools. You'll typically need a wrench or a socket set to tighten the bolts. The size of the wrench or socket will depend on the size of the bolts on your clevis. A torque wrench is also a good idea if you want to ensure that the bolts are tightened to the correct specification. This is important because over - tightening or under - tightening the bolts can lead to problems down the line.
You might also need a drill if you have to make holes in the equipment or structure where the clevis will be installed. Make sure to use the right drill bit size for the bolts you'll be using. And don't forget safety gear like gloves and safety glasses. You don't want to get hurt during the installation process.
Step 3: Prepare the Installation Site
Before you install the clevis, you need to prepare the installation site. This means cleaning the surface where the clevis will be attached. Remove any dirt, rust, or debris that could prevent the clevis from making a good connection. If the surface is uneven, you might need to sand it down or use a leveling compound to make it flat.
If you're installing the clevis on a pole or a beam, make sure it's in good condition. Check for any cracks or damage that could affect the stability of the installation. If you find any issues, it's best to address them before proceeding with the clevis installation.
Step 4: Position the Clevis
Now it's time to position the clevis. Place it on the prepared installation site and align it with the holes or the attachment points on the equipment or structure. Make sure the clevis is centered and level. You can use a level tool to check if it's straight.
If the clevis has a pin or a bolt hole, make sure it's lined up correctly with the corresponding hole on the equipment. This will ensure that the clevis can be attached securely.
Step 5: Insert the Bolts
Once the clevis is in position, insert the bolts through the holes in the clevis and the equipment. Make sure the bolts are inserted all the way through and that the washers are in place. Washers help distribute the load evenly and prevent the bolts from loosening over time.
Start by hand - tightening the bolts to hold the clevis in place. This will make it easier to use the wrench or socket set to tighten them further.
Step 6: Tighten the Bolts
Using the wrench or socket set, tighten the bolts gradually. Don't try to tighten them all at once. Start with one bolt and tighten it a little bit, then move on to the next one. Go around the clevis several times, tightening each bolt a little more each time. This will ensure that the clevis is tightened evenly.
If you're using a torque wrench, set it to the recommended torque specification for the bolts. This will help you avoid over - tightening or under - tightening the bolts. Over - tightening can damage the bolts or the clevis, while under - tightening can cause the clevis to come loose.
Step 7: Check the Installation
After you've tightened all the bolts, check the installation to make sure everything is secure. Try to move the clevis slightly to see if it's firmly attached. If it moves or wobbles, you might need to tighten the bolts a little more.
Also, check the alignment of the clevis again. Make sure it's still centered and level. If it's not, you might need to loosen the bolts slightly and re - position the clevis.
Step 8: Maintenance
Once the clevis is installed, it's important to perform regular maintenance. Check the bolts periodically to make sure they're still tight. Over time, vibrations and other factors can cause the bolts to loosen. If you find any loose bolts, tighten them as soon as possible.
Inspect the clevis for any signs of wear or damage. If you notice any cracks, corrosion, or other issues, replace the clevis immediately. This will help ensure the safety and reliability of your equipment.
In conclusion, installing a clevis properly is not that difficult if you follow these steps. By choosing the right clevis, gathering the right tools, preparing the installation site, and following the correct installation procedures, you can ensure a secure and long - lasting installation.
If you're in the market for high - quality Clevis or Hanger products, we're here to help. We offer a wide range of clevises and related products that are designed to meet your specific needs. Whether you're working on a small DIY project or a large industrial installation, we have the products and expertise to support you. If you have any questions or want to discuss your procurement needs, feel free to reach out to us. We're always happy to talk about how we can help you with your projects.
References
- General knowledge from years of experience in the Clevis or Hanger supply industry.
- Product manuals and specifications from various manufacturers.